📢 NEW: Yottaa Acquires SpeedSense, Advancing Leadership in eCommerce Web Performance Optimization
Deliver a premium digital commerce experience.
Streamline third-party loading
Dynamically cache content in the browser
Make your site user-specific
Monitor your users in real-time
Track your Core Web Vitals metrics
Compare site performance with peers
Know what tech is on your site
Mitigate errors before they impact shoppers
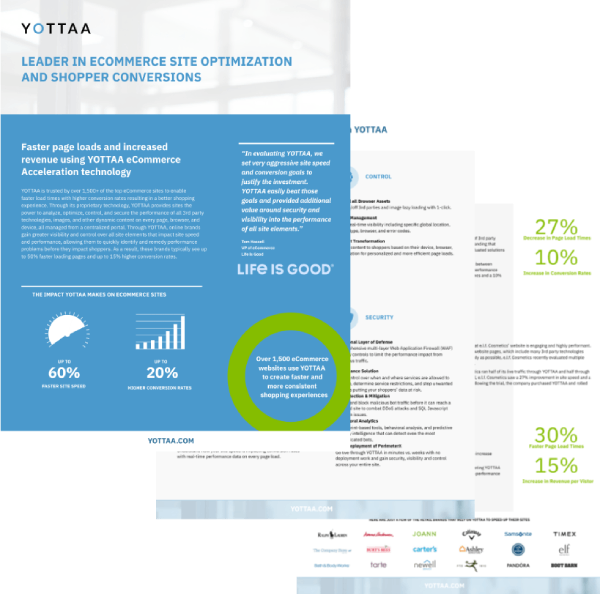
Quantify site speed optimizations
Proactively identify performance issues
🚀 Boost Your Shopify Store’s Speed & Conversions! Click here to get your free performance plan today!
We do have similar content available on our Resource page and Blog posts.
Copyright© 2025 Yottaa • Privacy Policy • Acceptable Use Policy • Cookie Policy